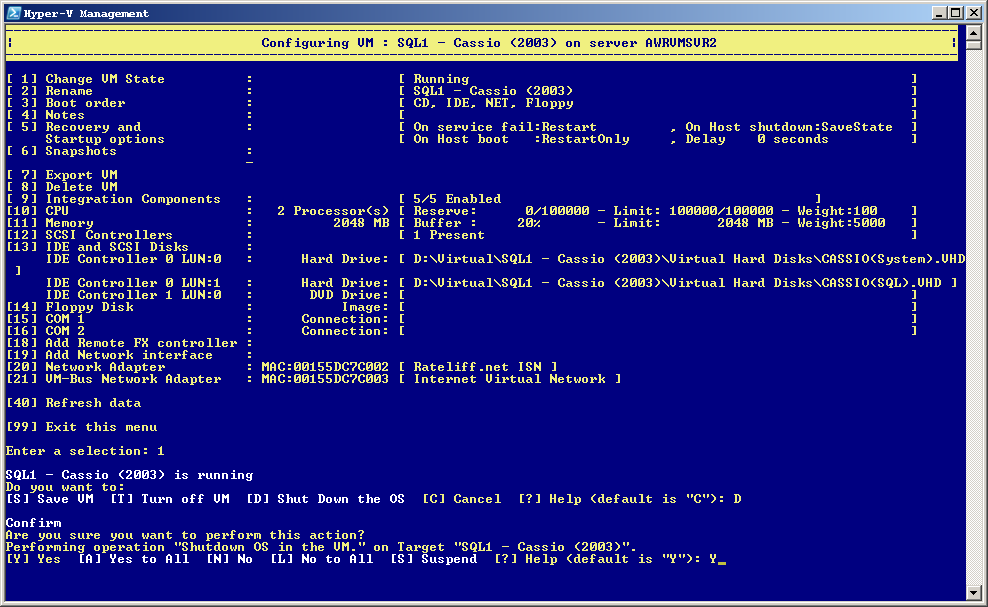
Source server: Shutdown VM via operating system.
Problem: A Hyper-V virtual machine existing on VMSVR2 needs to be moved
to VMSVR1, neither of which are joined to a domain. A network share is the most efficient
way to facilitate this move. Both machines have matching user credentials and a
network share is provided on VMSVR1 with the user given explicit permissoins.
The Export VM process using Hyper-V Manager illicits the error
Discussion: Microsoft's official word on this process implies it cannot be done in a Workgroup environment, as you cannot specify a machine's name in share permissions without being in a domain.
The export process uses a local machine account
which cannot access across a network share as the account exists on both machines and will
have arbitrary and therefore unmatched credentials between the machines. To get around
this, we exploit PsHyperV's ability to export just the VM's configuration, which happens
under the context of the running user. Afterward the same user will manually copy the
VHDs into a folder structure expected for a VM import.
This document is based upon Hyper-V Server 2008R2 (Server Core,) but should apply to
Server 2008R2 running the Hyper-V role, as well, using the same utilities (I use PSHyperV rather than
"raw" PowerShell because I can.)
Resolution: Use PsHyperV 'show-hypervmenu' and a method to manually copy files (I like 7-Zip File Manager.) Recommended to use the same Virtual Network names on both machines to minimize configurations necessary to connect the network adapters (the instructions following assume this is the case.)
Process: Moving a VM from VMSVR2 to VMSVR1.
Caveats: This method of import puts the virtual machine's state on the same drive as the rest of its files (see below on how to fix this.) While you can use PsHyperV menu to remotely command the import on the destination server, exporting remotely elicits the same permissions error as we're trying to avoid.
Demonstration: The screenshots which follow are taken from a live setup described as above.
Source server: Shutdown VM via operating system.
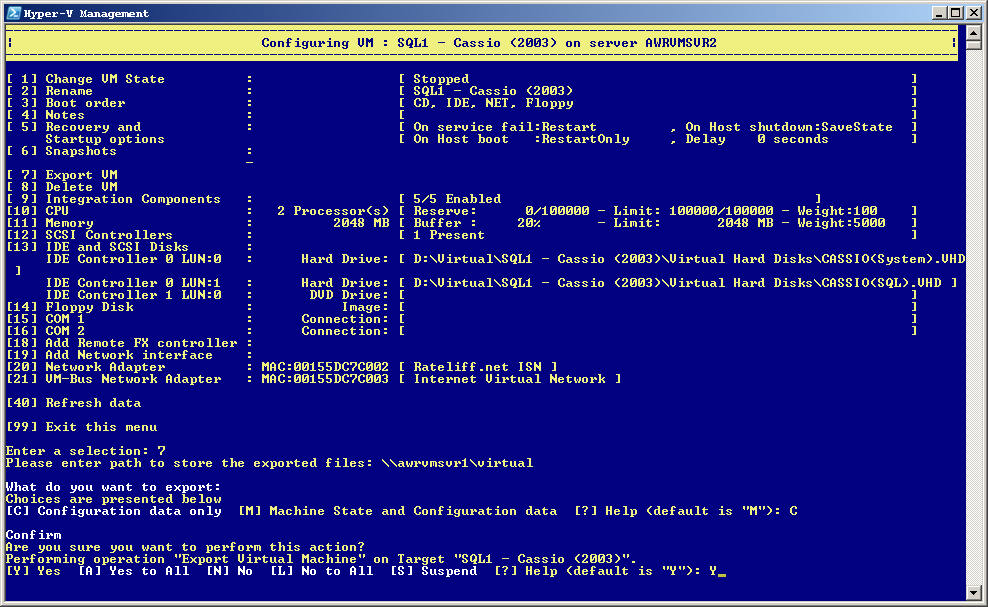
Source server: Export to network share on destination server.
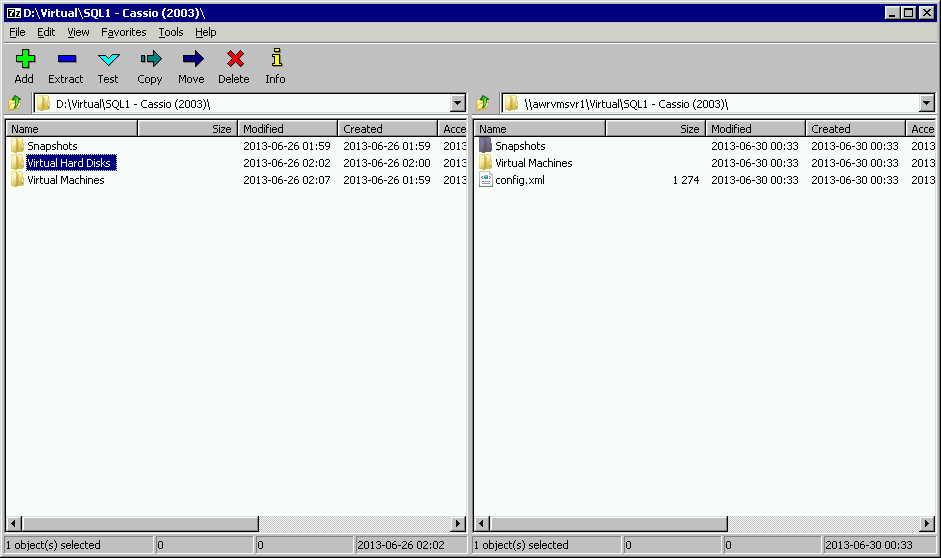
Source server: Using 7-Zip file manager (7zfm.exe,) browse
to source and destination directories, select "Virtual Hard Disks" directory, and COPY.
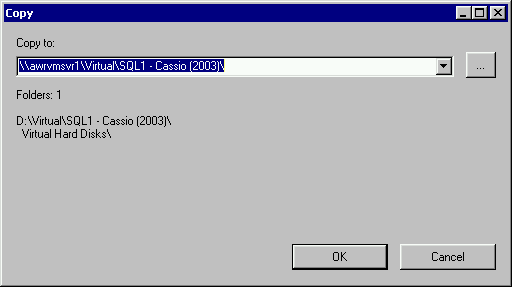
Source server: confirm destination for copy.
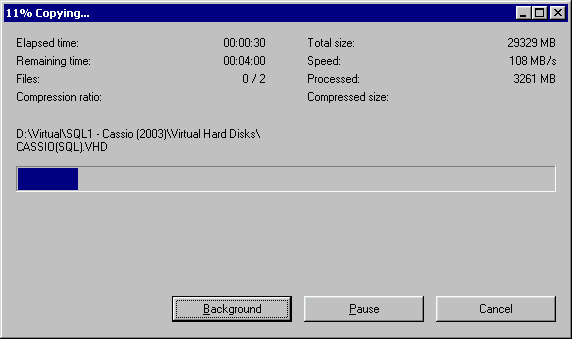
Source server: Full gigabit speed!
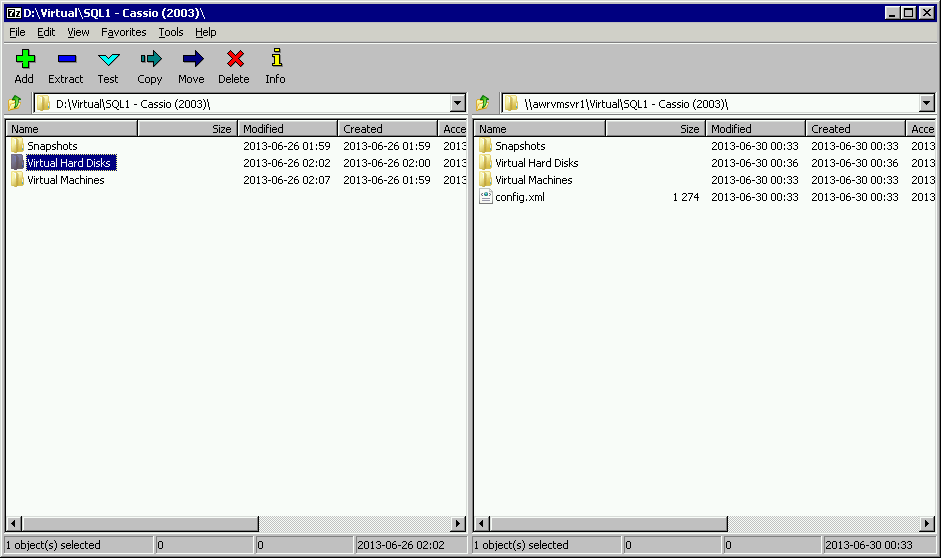
Source server: Copy completed. Note the config.xml will be
consumed during the import.
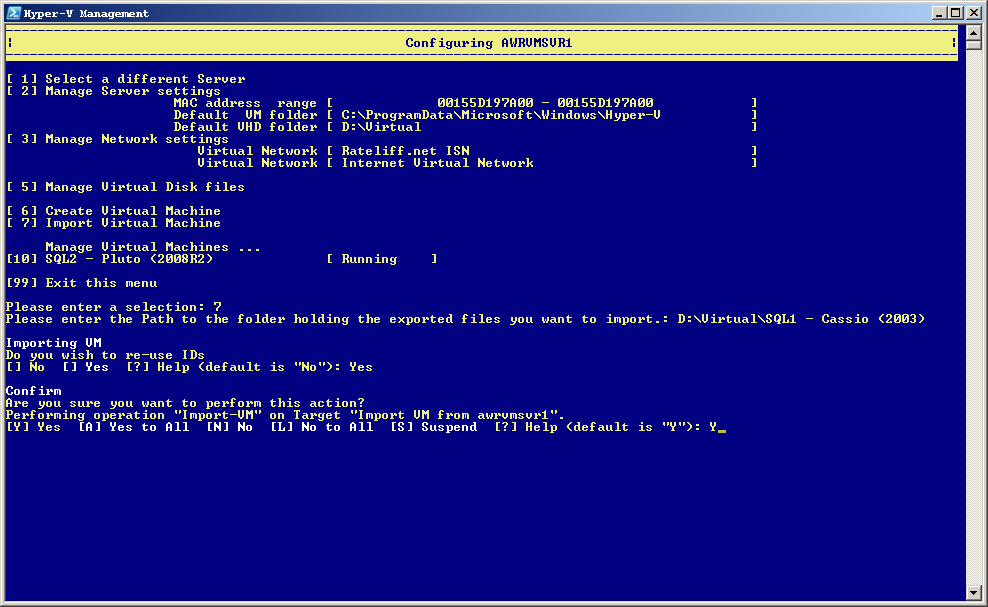
Destination server: Import VM from directory path shared as the
destination for the previous steps; re-use IDs.
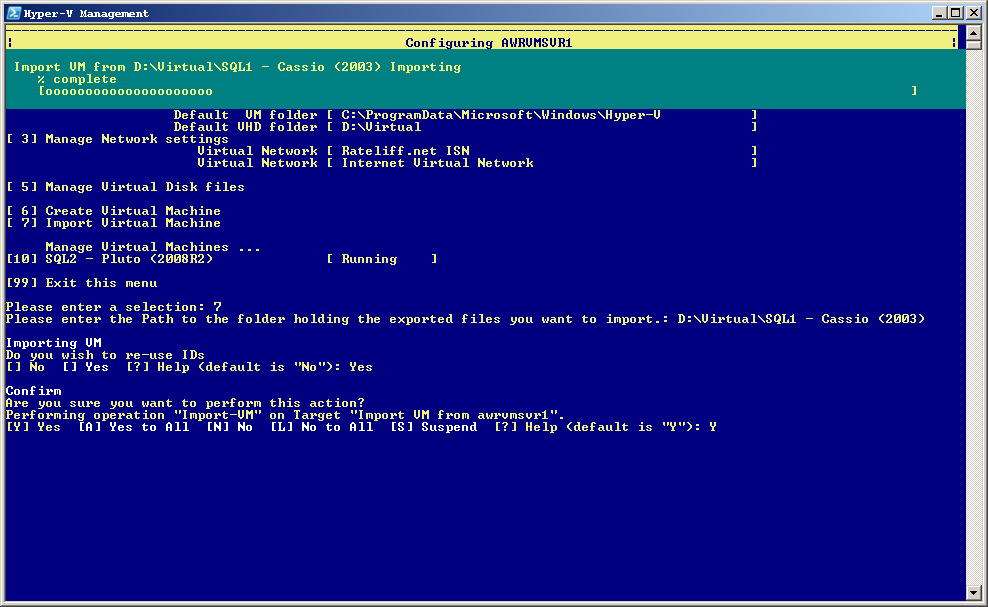
Destination server: Importing...
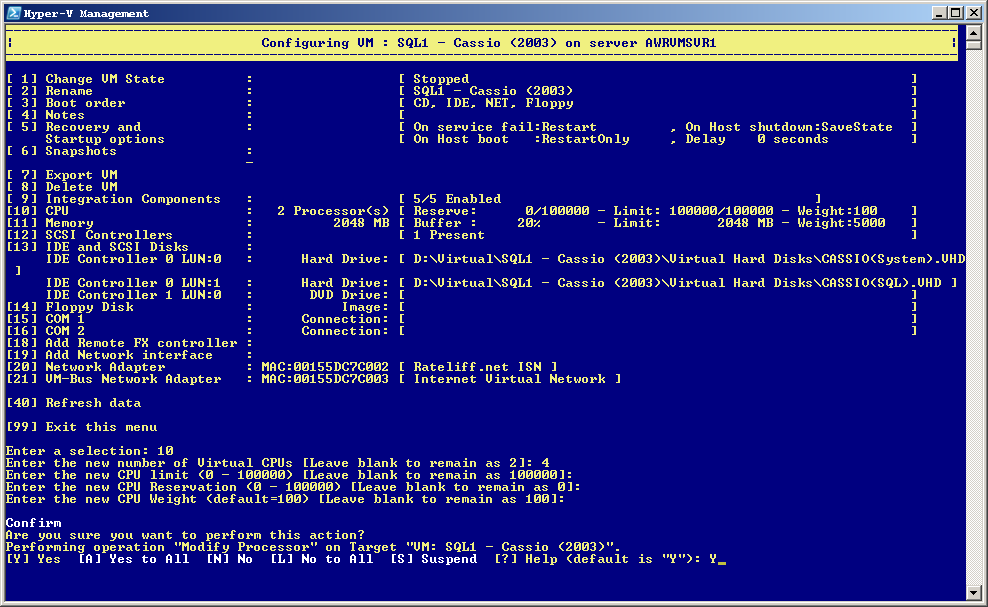
Destination server: Let's change from 2 to 4 CPUs.
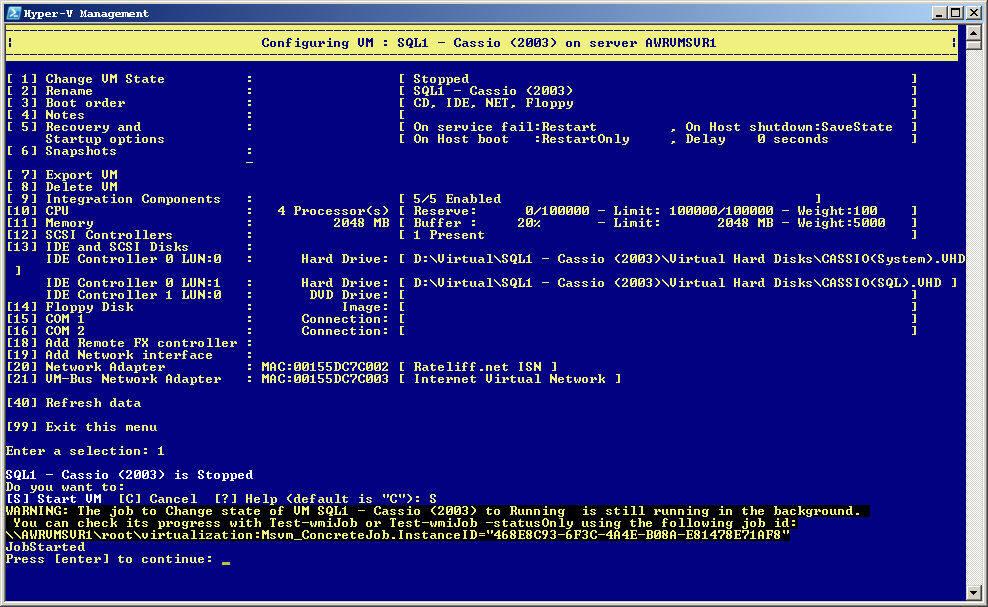
Destination server: Start VM... done!
Move VM State: When importing as described, each VM's state will be stored in the directory structure storing the exported VM. This may be undesirable when this structure exists on a hard drive and the Hyper-V OS exists on an SSD. I have not turned up any literature to say the storing the state on an SSD makes things any faster, but why the hell not? To fix this, look in C:\ProgramData\Microsoft\Windows\Hyper-V\Virtual Machines. There you will see XML files symlinked to the import locations. Stop ALL virtual machines, then stop Hyper-V with the command
sc stop vmmsNext, DEL the XML symlinks. Now copy the state folder and XML file for each VM like so:
xcopy "D:\Virtual\My Server 2008R2\Virtual Machine\*" . /e /k /xIt will respond with "1 file copied" but a DIR will show the XML file and a folder of the XML file's base name. Do that for each VM state you want to move, then restart Hyper-V with
sc start vmmsBE VERY CAREFUL! If you accidentally delete an XML file which is NOT a symlink, you will lose that VM from Hyper-V and will need to restore the XML file from a backup or volume snapshot.